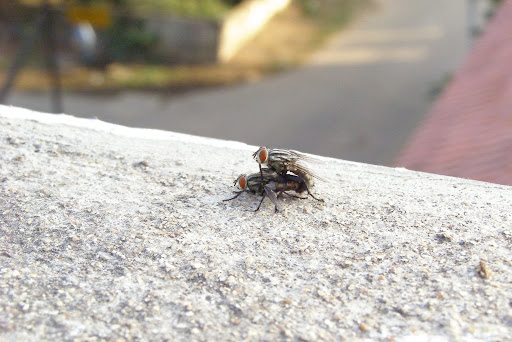
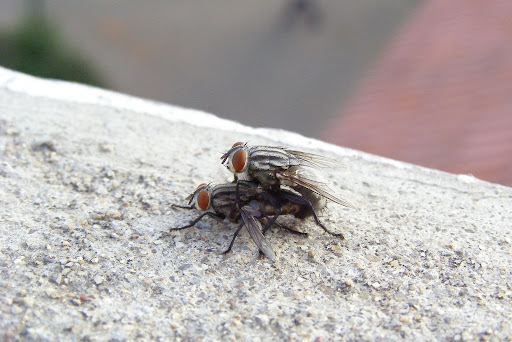
Here is another photo which uses macro mode. The primary function of the macro mode is to get the miniature details, look at the 1st photo the details of the fly are not that great, where as the second photo has good details of it wings
DIY:
Kindly Note: have your display guide turned on.
You camera needs to have the Manual mode and apart from that you need some thing called the Macro mode which usually is hidden under menus. If you are not sure of how to have the best exposure settings try first with the Program mode and have few snaps taken with your digital camera, this will help you to understand the needed exposure mention in camera.
Finally set the desired exposure and desired zoom level and click some awesome photos.
Tip:
- Flies, insects, birds etc are the most painful ones to capture, you need to take atleast some 20 to 30 snaps to get the desired one. Most of the pro photographers, have this patience and taking multiple photos as their trade secret.
- Macro modes are helpful for your to take some fine prints from newspaper or brochures etc
Now try some and let me know the results.